
Technical resource 12 min read Updated
How to Set Up an Inflatable Cinema Screen
The full procedure for setting up, inflating, running and packing down an inflatable cinema screen — including the mistakes that damage screens and the tricks that save you twenty minutes.
This is the procedure we give customers with a new screen, written out in full. It applies to A-frame and mattress-style inflatable cinema screens from 3 m to 12 m, and the same principles hold for most commercial screens regardless of who made them.
Two things account for almost every damaged screen we see: over-inflation and packing it away damp. Neither takes any extra time to avoid.
What you’re setting up
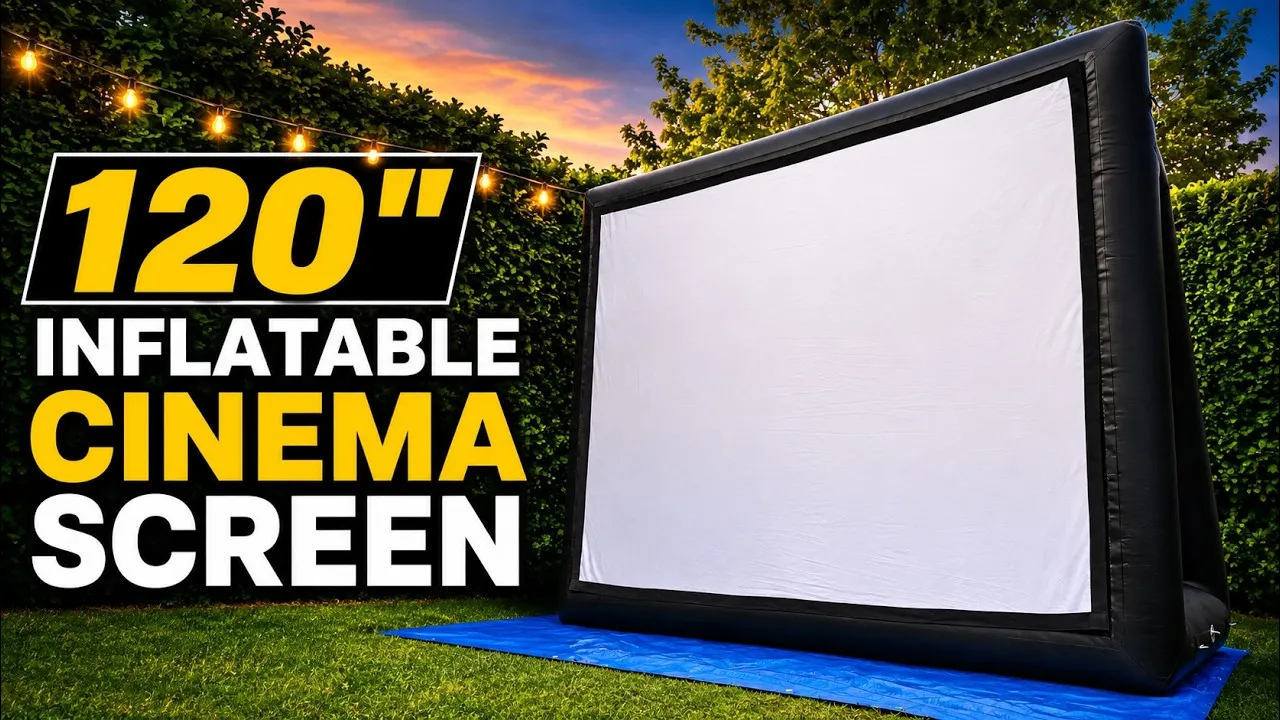
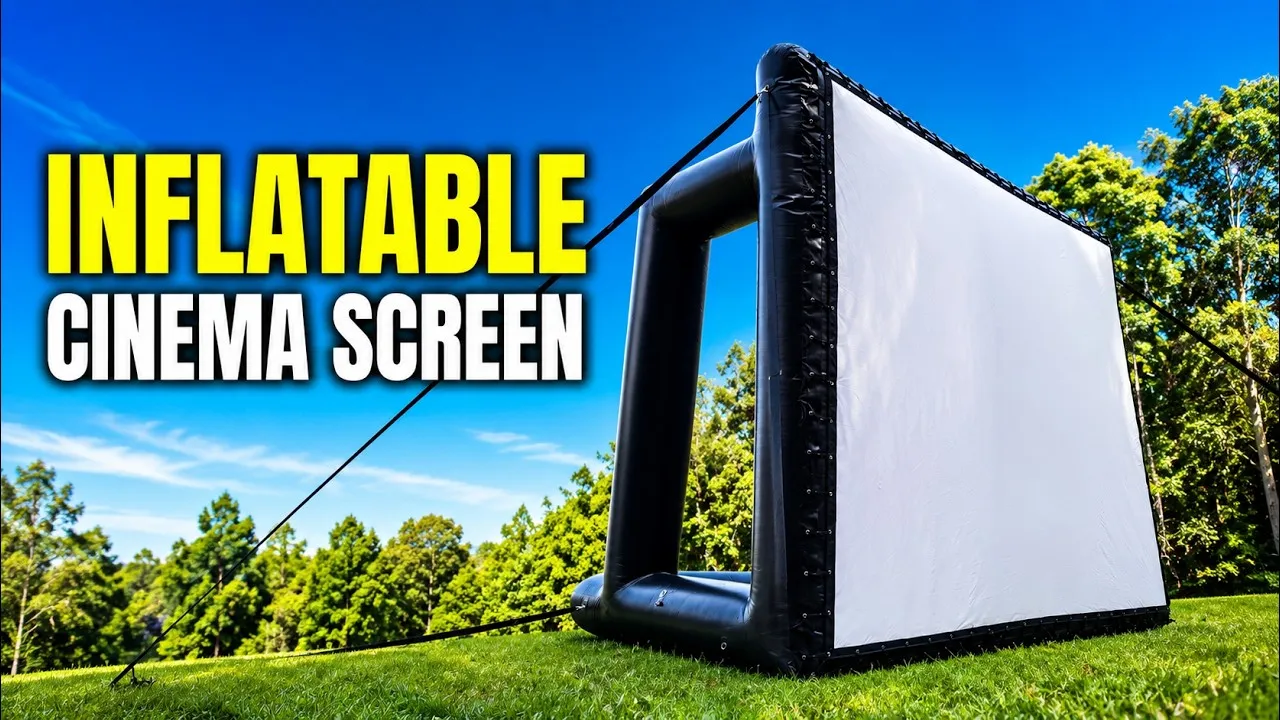
A-frame or mattress. A-frame screens are self-supporting, with an extended backing frame that holds the screen upright on its own. Mattress-style screens are a simpler flat frame that relies on tethering to stand. A-frames are quicker for one person and easier indoors; mattress screens are lighter and cheaper for the same surface area, but on the larger sizes you want extra hands to guide and tether them during inflation.
Sealed or constant-air. A sealed screen is inflated once and holds its air — the pump comes off and the screening is silent. A constant-air screen keeps a blower running throughout, on the same principle as a jumping castle, which means fan noise near the audience for the whole film. Neither is wrong, but they set up differently: with constant-air you need power at the screen for the entire event, and you should place the blower on the far side from the crowd.
Crew. A 3–4 m screen is comfortably a one-person job. From 6 m up, a second person makes the surface attachment and tethering much faster. At 10 m and above — particularly mattress style — treat it as a crew task, both for setup and for lifting the bag.
Before you unroll
Walk the site first. You are looking for flat, open ground with nothing sharp in it and nothing overhead.
- Clear the footprint of sticks, stones, bindis, glass and irrigation fittings.
- Look up. Powerlines and low branches are a hard stop, not an inconvenience.
- Lay a tarp before you unroll. This is the cheapest insurance you can buy against a puncture, and it keeps the base clean so pack-down is quicker.
- Note the wind direction and where the sun sets. Both decide which way the screen faces, and it is much easier to decide now than after it is inflated and pegged.
- Check where power and the audience will be, so the cable run and the projector position are settled before the screen goes up.
Tip
Unpack the screen surface at the same time as the frame and lay it out beside it, white side up. Hunting for it once the frame is inflated is how the top edge ends up crooked.
Setting up, step by step
-
Unroll and orient the frame. Take the frame out of its bag, remove the retaining strap, and unroll and unfold it. Find the front — you can tell by the attachment style, either Velcro strips or rows of eyelets along all four sides. Point the front at where the audience will be.
-
Attach the screen surface. Lay the surface over the front of the frame, lining it up with the attachment sides. On front-projection-only surfaces the white or grey side faces forward, towards both the audience and the projector. For eyelet attachment, take a bungee cord, loop it through the frame eyelet and the matching surface eyelet, and secure it with the hook.
Do not try to attach the whole surface flat on the ground. Attach the top edge and part-way down each side while the frame is deflated, then work down the sides as the frame rises, and fit the bottom edge once it is fully inflated. This is much faster, and it puts the tension where the manufacturer intended.
-
Run out the tethers and set the anchors. An A-frame typically has six anchor points — D-rings, three per side. The four long tethers go to the top anchor points and run out at roughly 45°; the short tethers add security lower down. Give the tethers plenty of slack at this stage; you will tension them at the end.
Peg or weight the tethers before you inflate. An unanchored screen catching a gust mid-inflation is the single most common way people get hurt or damage a screen. On grass, drive pegs at an angle leaning away from the screen. On hard ground where you cannot peg, use sufficiently weighted water or concrete anchors. There is a full procedure in the anchoring resource.
-
Inflate the frame. Attach the hose to the inflation side of the pump. Take the cap off the air valve, then insert and twist the hose nozzle into the valve so it seals. Switch the pump on.
Stay with it. Guide the frame as it rises — untwist any sections and set the orientation while it still moves easily. Once the frame tubes are straight, the frame becomes firm in about 10 to 30 seconds.
Do not over-inflate
Stop the pump as soon as the frame is firm. Over-inflation damages the screen, and it is not recoverable in the field. Never leave the screen and pump unattended while inflating.
-
Close the valve and finish the surface. Remove the hose. If air is escaping from the valve, press the centre of the valve to close it, then refit the cap. Now attach the remaining surface eyelets down the sides and finish with the bottom edge, so the surface pulls flat.
-
Re-tension and check. Even out the tension across the tethers — you want them all doing work, not two taut and two slack. Confirm every anchor point is loaded. Stand back and check the surface is flat and square; small wrinkles usually mean uneven tension along one edge, not a fault.
Pressure, heat, and the thing that kills screens
Air pressure inside the frame rises as the temperature rises. A screen inflated firm at 10 am on a warm day can be drum-tight by 3 pm, sitting in full sun, under more stress than it was designed for.
So on hot days, check the frame during the afternoon and bleed off excess pressure if it has gone hard: press the centre of the valve briefly, then re-cap. It takes seconds and it is the difference between a screen that lasts many seasons and one that splits a seam.
The reverse is also true. A screen inflated in the heat of the day will soften as the evening cools. That is normal — top it up briefly if it looks slack before the film starts.
Pack-down, step by step
- Open the valve. Remove the cap and press the centre of the valve to hold it open.
- Let it collapse, then press gently on the frame to push out more air.
- Position the frame sections as it goes down so it is already lying the way you want to fold it. Two minutes here saves ten minutes wrestling with it later.
- Use the pump as a deflator if you want it fully flat — the hose moves to the alternative attachment point on the pump to reverse the airflow.
- Fold, then roll. Fold from the end opposite the open valve, so the last of the air is pushed out ahead of you. Leave the valve cap off until the end, then refit it before the final roll.
- Strap and bag it, and get the surface, tethers, pegs and pump into their own bags rather than loose in the trailer.
Never run the pump on an empty screen
Once the air is out, disconnect the pump. Leaving it running and connected to a fully evacuated screen can damage the pump, the screen, or both.
Care, cleaning and storage
Dry it before it goes away. If the screen or the surface is wet or even damp, it must be completely dry before storage. A damp screen in a bag grows mould, and mould on PVC is effectively terminal. If you pack down wet because of weather or dew — which happens — unroll and dry it the next dry day rather than leaving it.
Cleaning. Good-quality PVC wipes down with a damp cloth. Textured or cloth-faced fabrics (common on cheaper frames) are much harder to clean without damaging them, which is one of the less obvious costs of a budget screen. Some cloth surfaces can be machine washed — check before you try it.
Handling. Don’t drag the frame over gravel or rough surfaces. Use the tarp when moving as well as when setting up.
Storage. For long-term storage, take the surface off the frame. Store both somewhere dry, out of direct sun, and away from rodents — a chewed frame tube is a bigger problem than it sounds.
Valves and seals. Inflation valves degrade over time, particularly the O-rings and rubber seals. Check them at the start of each season, and make sure replacements are actually available for your screen — with imported generic screens, often they are not.
Choosing and running the blower
The blower is not an accessory to be picked on price. It sets how fast you inflate, how quiet the site is, and — with constant-air screens — whether the audience hears fan noise for ninety minutes.
- Match the blower to the screen volume. Under-powered blowers labour, take far longer and run hot. Our 1.5 hp REV commercial unit moves 610 m³/h at 1600 Pa and suits medium to large screens; small screens are fine on the lighter 1100 W EV blower.
- Mind the circuit. A commercial blower is a real electrical load — a 2 hp unit pulls over 2 kW. Don’t share a circuit with the projector and audio — a trip during inflation is inconvenient, a trip mid-film is not.
- Keep the inlet clear. Blowers pull a lot of air; grass clippings, tarps and bags find their way onto the inlet. Blocking it makes the motor work harder and run hotter.
- Carry a spare if you run events commercially. A blower is the cheapest single point of failure to eliminate.
See the accessories range for blowers and anchors, and what a full system costs if you’re still budgeting.
Wind limits and when not to set up
Every inflatable has a maximum safe wind rating. As a general figure, do not use an inflatable screen in winds above 40 km/h, and be conservative well before that — the picture starts moving on the surface long before the screen is in danger, and a moving picture is a poor screening.
Do not set up if the frame fabric, seams or anchor points are damaged. Anchoring is the operator’s responsibility, and the operator is the one on site making the call — not the manufacturer and not the forecast.
The full wind procedure, including how much ballast to use and when to call it off, is in anchoring inflatable screens. Once the screen is up, screen, projector and audio setup covers where everything else goes.
Watch it done
Common questions
How long does it take to set up an inflatable cinema screen?
For a 3–4 m screen, plan on about 20–30 minutes from unloading to picture on screen, most of which is cabling and testing rather than inflation. The frame itself is firm within 10–30 seconds of the tubes straightening. Larger screens take longer mainly because of the surface attachment and anchoring, not the inflation.
Can I leave the screen surface attached to the frame?
Yes, for short turnarounds — the surface can usually stay attached through deflation and packing if you take care folding. For longer-term storage, take the surface off the frame. It reduces creasing and stress on the eyelets or Velcro.
Can an inflatable screen get wet?
The frame and surface tolerate rain. What cannot get wet is the electrical gear — projector, speakers, blower and cables. The rule that matters is drying: never pack a screen away damp, or you risk mould and permanent damage.
How do I know when the screen is inflated enough?
When each frame tube is straight and the frame feels firm — typically 10–30 seconds after the tubes straighten. Firm is the target, not hard. Over-inflation damages seams and valves, and pressure rises further as the day warms up.
Do I need a blower running during the movie?
Only with a constant-air screen, which is designed to run continuously and will add background noise near the audience. A sealed screen is inflated once and the pump comes off, so the screening is silent.
Planning an outdoor screen or LED installation?
Tell us about your site and audience. We scope, supply and support outdoor cinema and permanent LED systems Australia-wide.